Bike & Wheel Measurement
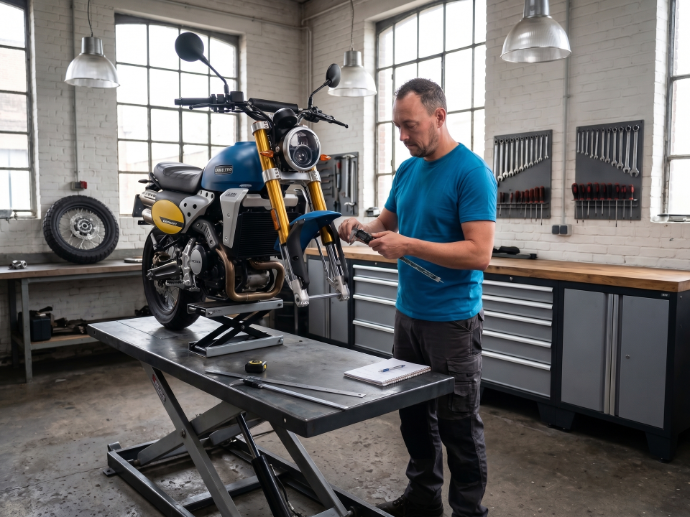
Building a custom motorcycle is all about creating something unique, but even the wildest concept needs to work in the real world. Proper measurement is the difference between a bike that handles like a dream and one that is flat-out dangerous. When you start swapping parts, changing wheel sizes, or fitting wheels where they were never intended to go, guesswork is your enemy.
Taking precise measurements is the essential foundation of any high-quality custom build. Let's look at how to map out your bike and wheels properly before you start turning wrenches or ordering parts.
The Essential Tooling
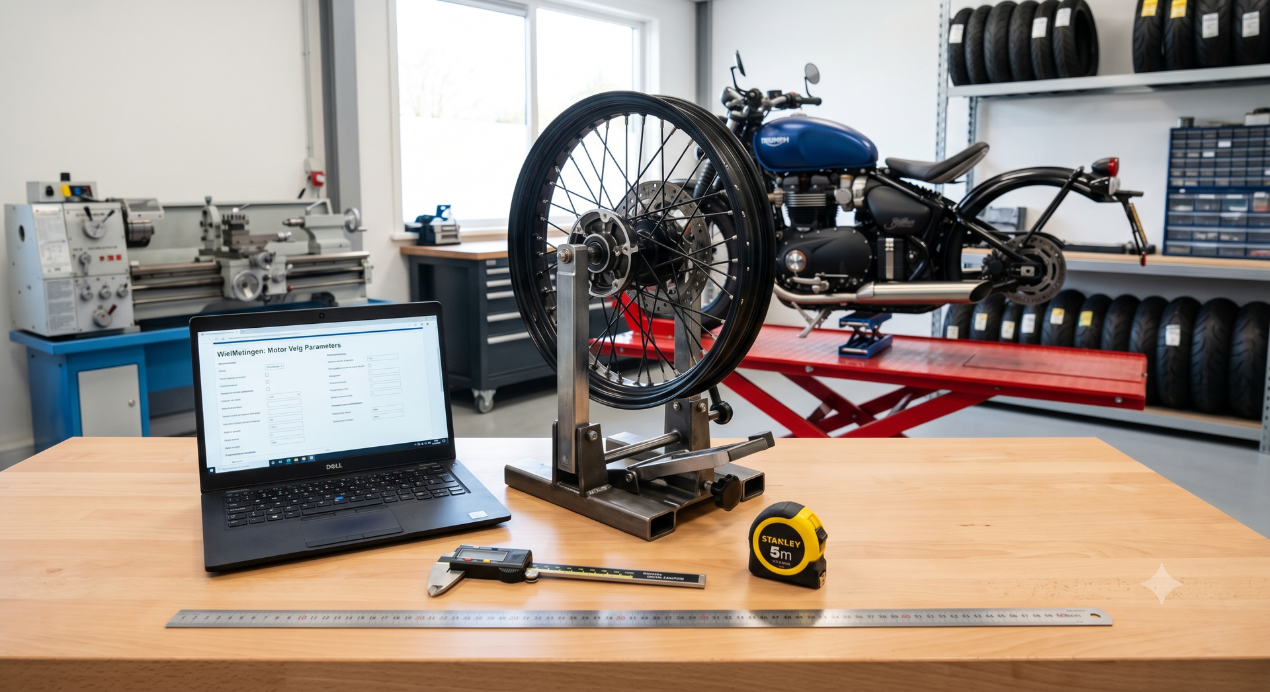
You do not need a high-tech engineering lab to get accurate measurements, but you do need the right basics. Leave the wooden school ruler in the drawer. For a proper mockup, grab these tools:
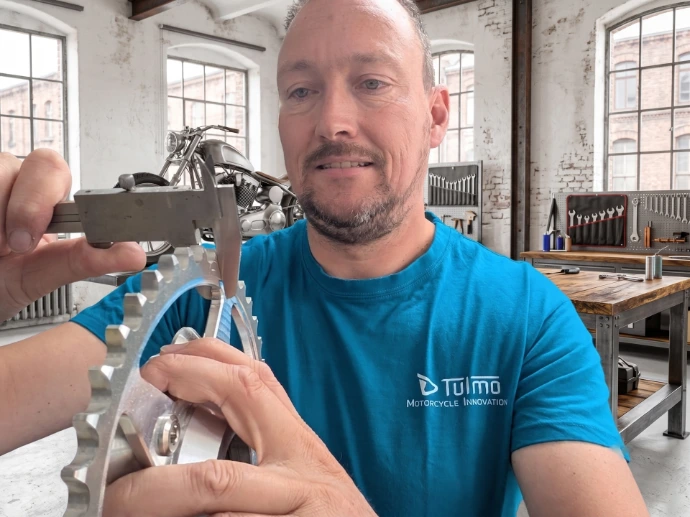
- Vernier Calipers: Essential for measuring axle diameters, spacer widths, and hub offsets accurately.
- A Straight Edge or Laser Line: Crucial for checking wheel alignment and chain runs along the length of the bike.
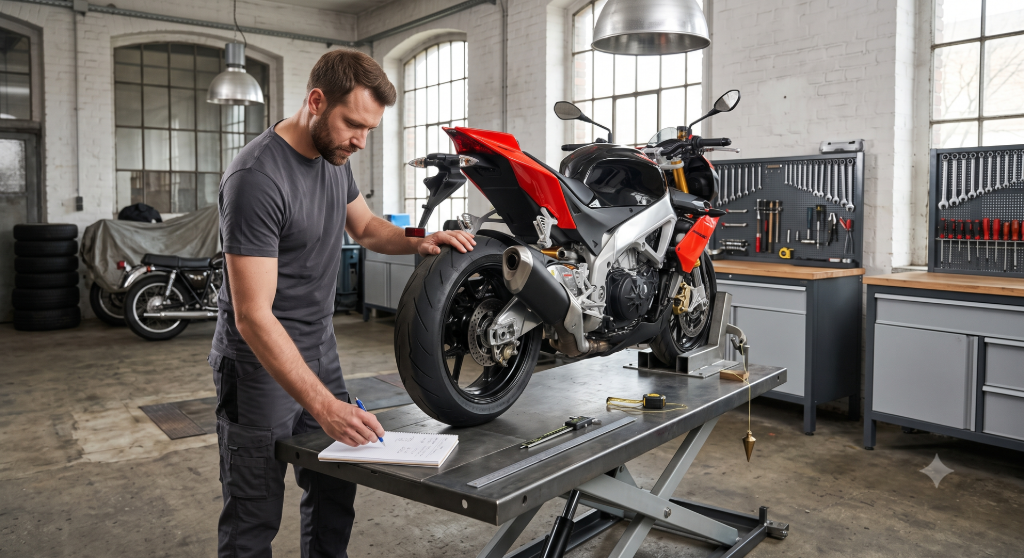
- A Plumb Bob: An incredibly simple but effective tool for dropping a vertical line from the steering head or frame backbone to establish a perfect ground centerline. Critical note: you must ensure that the bike is standing completely upright.
- A Reliable Tape Measure: For longer distances like swingarm lengths or overall frame width.
- A Notepad: Write down every single dimension immediately. Never rely on memory.
Advanced Tip: If you want to take it a step further, modern technologies like 3D scanning are becoming highly accessible. A 3D scan allows you to capture the entire digital geometry of your chassis in one go, providing an ultra-precise digital canvas to work from.
From Workshop to CAD: Engineering the Solution
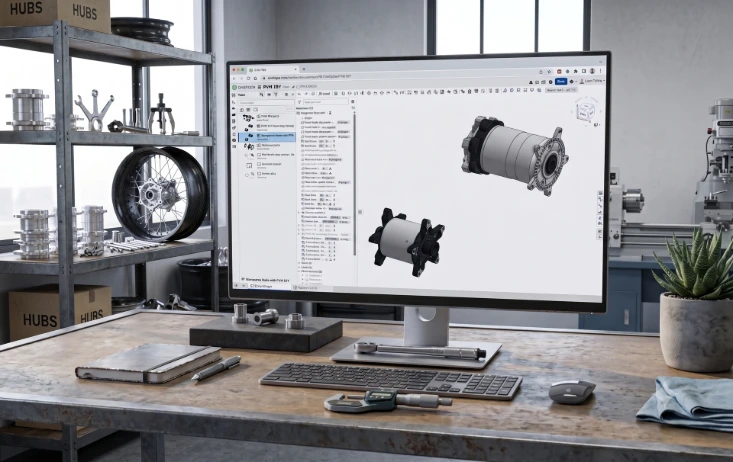
Once you have gathered all these measurements, the real engineering work begins. We do not rely on guesswork or trial-and-error in the workshop. Instead, we take every single dimension you provide and input it into our 3D CAD software, Onshape.
By modeling the bike geometry and the wheels in a digital environment, we can verify beforehand if the intended solution will actually work. This allows us to check clearances, test alignments, and spot potential issues before any metal is cut. Once the digital model is perfect, we use it to generate exact production drawings for manufacturing your custom wheel components. It is how we ensure that a custom fitment is just as reliable and safe as a factory setup.
Upgrading from OEM: Tire Geometry & Clearance
Going wider or changing the diameter of your wheels alters the entire geometry of the motorcycle. It is a classic trap to think only about the rim size and forget how the rubber actually behaves.
The Chain Rub Risk: If you fit a wider tire on the rear, the tire carcass expands outward. A tire that looks fine on paper might rub directly against your chain, belt, or drive shaft once mounted.
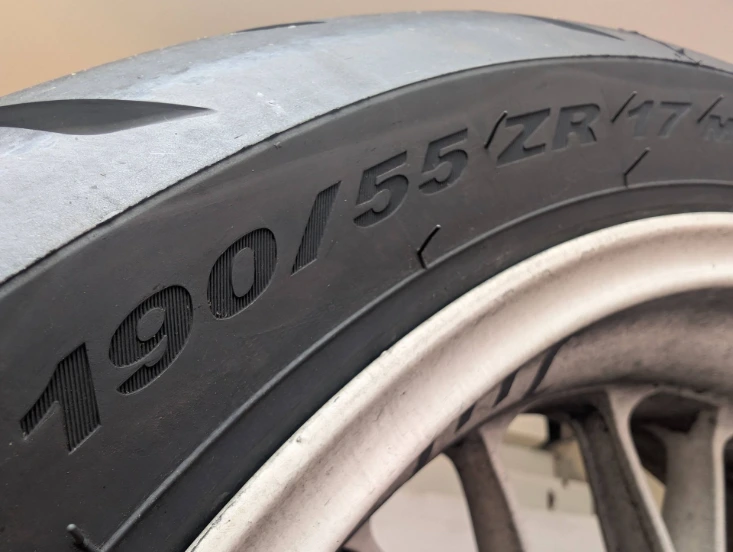
Aspect Ratio Reality: Tire sizes are percentages. If you move from a 130/90 tire to a wider 150/90 tire, that 90 represents ninety percent of the width. The wider tire is now significantly taller too. This increases the overall outer diameter and circumference.
For more details on tire dimensioning, please check the Tech page section Tire MarkingFitment Consequences: A larger circumference changes your gearing and your speedometer accuracy. More importantly, it reduces physical clearance inside the frame, fender, or swingarm, especially when the tire grows at high speeds.
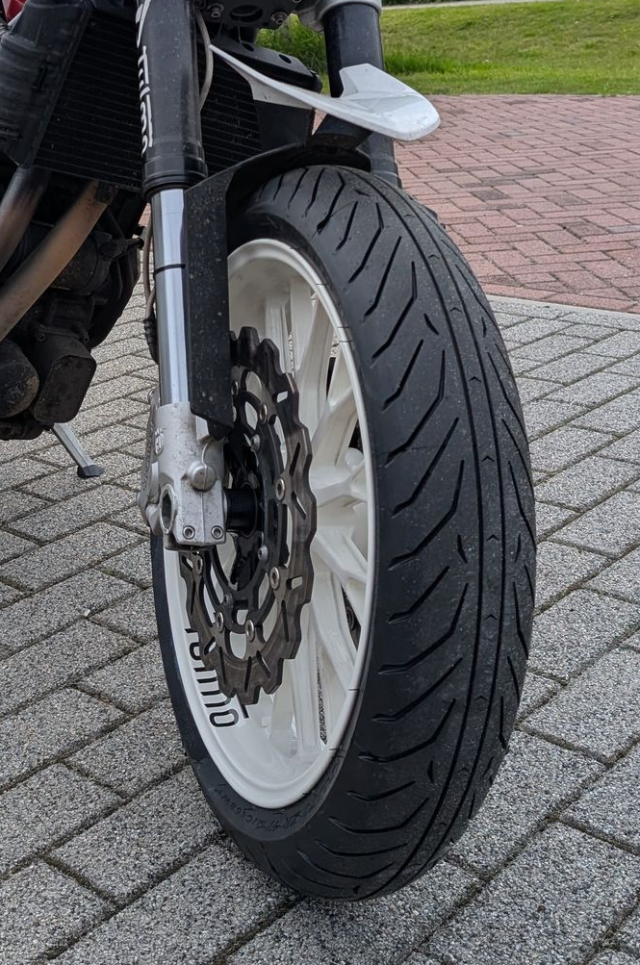
Measuring the Front Fork Setup
Up front, accuracy determines your steering characteristics and stability.
Hub Width: Measure the exact distance between the inside of the fork legs at the axle point.
Fork Leg Centerline Offset: Do not just assume the wheel sits dead center automatically. Measure the distance from the frame centerline to the inside of both the left and right fork legs individually. This is the only way to guarantee your front wheel tracks perfectly down the exact center of the motorcycle.
Rotor Spacing: For dual disc setups, measure the total distance between the two rotor mounting faces on the hub. For single discs, measure from the rotor face to the inside of the fork leg to ensure the caliper clears the spokes.
Clearance Limits: Check the narrowest point between the fork legs and the underside of the triple tree or front fender. Remember that tires expand slightly at high speeds due to centrifugal force.
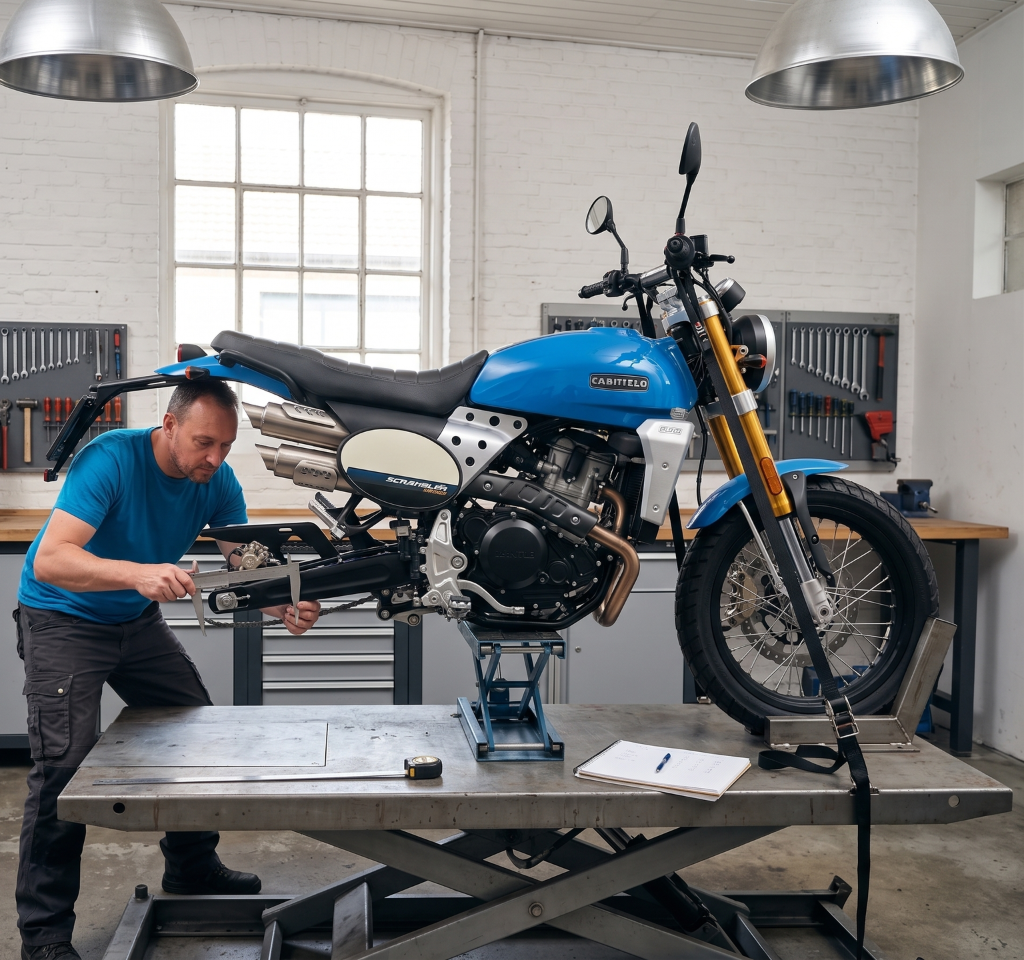
Measuring the Swingarm & Rear Fitment
The rear wheel setup requires balancing power delivery and braking while keeping everything perfectly centered.
Inside Clearance: Measure the total inside width between the swingarm dropouts where the axle sits. This gives you the maximum boundary for your hub and spacer assembly.
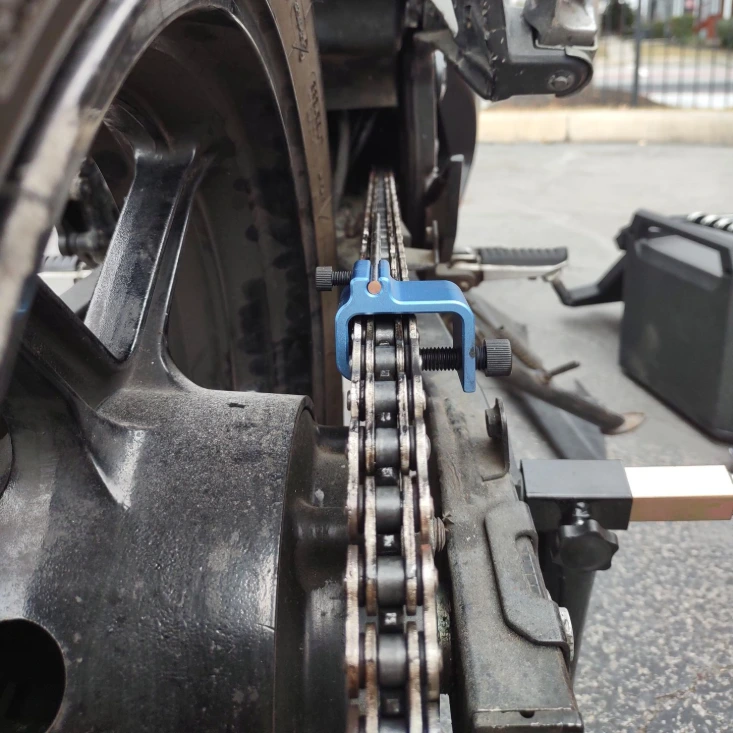
Chain Alignment: Run a straight edge from the front drive sprocket back toward the rear axle. Measure the distance from this line to the frame centerline. Your rear sprocket must match this exact alignment to prevent chain derailment or premature wear.
Brake Offset: Measure the distance from the brake rotor mounting surface on the hub to the caliper bracket on the swingarm. The caliper must center perfectly over the rotor.
Defining Wheel Dimensions & Alignment
A custom wheel must sit exactly where the chassis engineers intended, or the bike will pull to one side.
Rim vs. Tire Width: Always match your desired tire width to the correct rim width specification. Stretching a tire onto a rim that is too wide or pinching it onto one that is too narrow ruins the tire profile and kills handling. To match the tire to the correct rim, refer to the Rim & tire conversion table.
The Centerline: Establish the true centerline of the frame. The front and rear wheels must track perfectly along this identical centerline.
Offset: If a wider tire threatens to hit the chain, you may need to introduce an offset. This means lacing or machining the wheel hub so the rim sits slightly off-center relative to the hub flanges, while remaining centered to the bike frame.
Critical Mistakes to Avoid
- Ignoring Suspension Travel: Never measure clearance only while the bike sits clean and unloaded on a workshop lift. Remove the springs or shock absorbers and compress the suspension fully. Check if the tire hits the frame, wiring harness, or fender under full load.
- Assuming Asymmetry: Do not assume your stock factory swingarm is perfectly symmetrical. Many manufacturers offset the swingarm shapes to clear factory exhaust systems or drive components. Always measure both sides independently from the frame centerline.
Workshop Checklist: Final Verification
- Before you finalize your build specifications, run through this quick checklist at the workbench:
Chain Clearance: Is there at least 5mm of daylight between the chain and the widest part of the tire carcass?
Full Compression: Has the suspension been fully compressed to verify fender and frame clearance?
True Centerline: Do both the front and rear wheel rims align perfectly with the centerline of the frame?
Tire Diameter Change: Have you calculated the new outer diameter of the tire to check for clearance against swingarm braces?
Brake Clearance: Do the brake calipers clear the wheel spokes entirely during full rotation?

Don't miss our upcoming updates
Get all the latest news, blog posts and product updates from our company, delivered directly to your inbox.